Installing a roof box can seem daunting, but with the right approach, it’s a straightforward process that takes approximately 30-60 minutes for most models. This guide will walk you through the essential steps to securely attach your roof box, ensuring a safe and stable journey for your gear.
Pre-Installation Checklist: What You Need
Before you begin, gather all necessary components and tools. You’ll need your roof box, its mounting hardware (often U-bolts, power-click clamps, or T-track adapters), and potentially a measuring tape and a small wrench or Allen key, depending on your specific roof box and crossbar system. Always refer to your roof box’s instruction manual for model-specific details. Ensure your vehicle’s roof is clean and free of debris where the crossbars will sit.
Mounting the Crossbars (If Not Already Installed)
If your vehicle doesn’t have crossbars, this is the first crucial step. Crossbars provide the foundation for your roof box. They typically attach to your vehicle’s side rails or directly to the roof using specific mounting points. Follow the manufacturer’s instructions for your crossbar system carefully, paying close attention to weight limits and proper spacing. Incorrectly installed crossbars can lead to instability and potential damage.
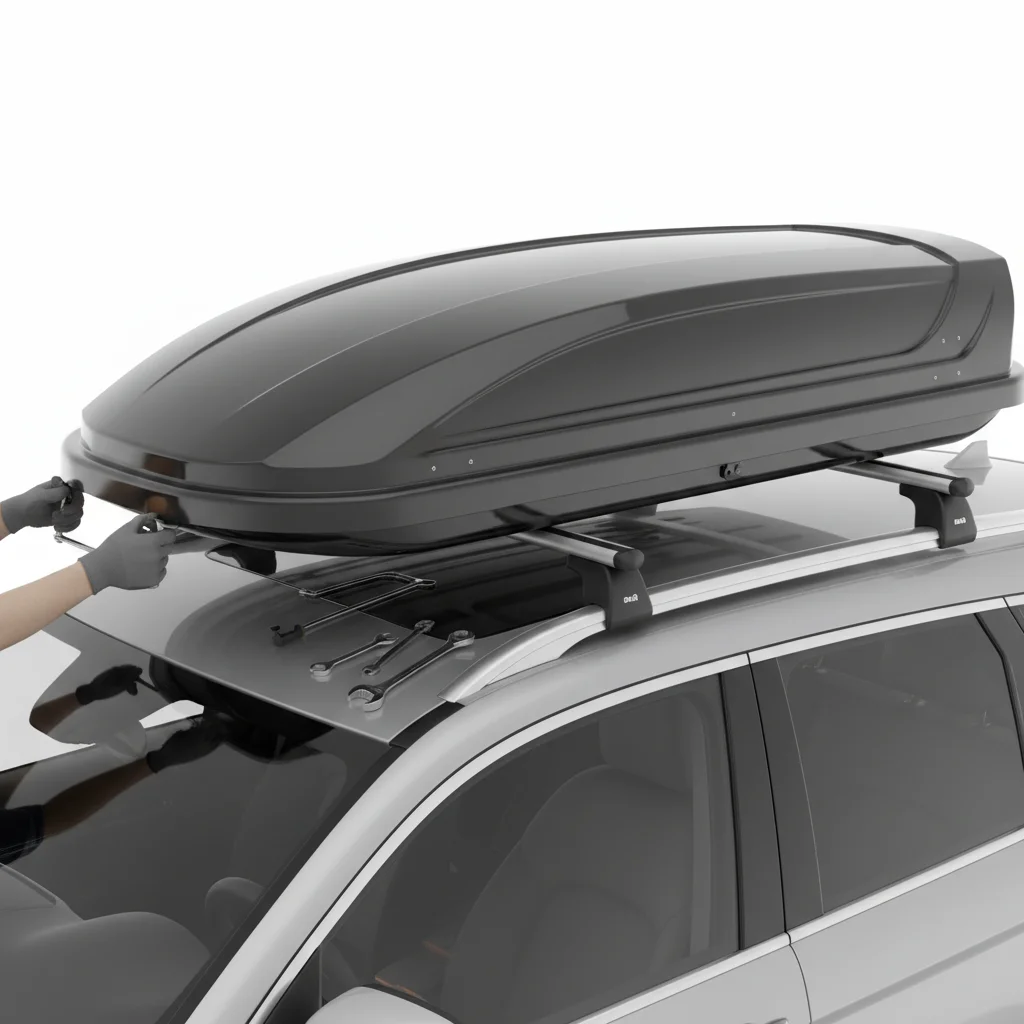
Positioning the Roof Box on Your Crossbars
|
Our Picks for the Best Roof Box in 2026
As an Amazon Associate I earn from qualifying purchases.
|
||
| Num | Product | Action |
|---|---|---|
| 1 | Pelican Cargo Cases |

|
| 2 | Asinking Car Rooftop Cargo Carrier Bag - 100% Waterproof Heavy Duty Car Roof Luggage Carrier 21 Cubic Feet, Fits All Vehicles with/Without Roof Rack - Easy Install & Triply Reinforced for Secure Use |
|
| 3 | iBirdie Roof Rack Cargo Carrier 32.1 Cubic Feet, XXL Soft-Shell Rooftop Cargo Box, Waterproof Heavy Duty 1200D for Car with/Without Roof Rack, Includes Anti-Slip Mat, Door Hooks, 60x37x25 inches |
|
| 4 | MeeFar Roof Rack Carrier Basket Universal Rooftop 51" X 36" X 5" + Waterproof Bag 15 Cubic Feet (44" 34" 17"), and Cargo Net with Attachment Hooks, Ratchet Straps |
|
| 5 | Sailnovo Rooftop Cargo Carrier Roof Bag, 20 Cubic feet Waterproof Roof Cargo Carrier fit car with/Without Luggage Rack - Vehicle Soft Shell Roof Cargo Box with Tie-Down Strap, Safety Hook |
|
| 6 | GarveeLife 46" x 36" Universal Roof Rack Cargo Carrier Basket, 200 Lbs Capacity Rooftop Cargo Rack, Car Top Luggage Holder Basket Heavy Duty for SUVs, Trucks, Vehicles |
|
| 7 | FIVKLEMNZ 21 Cubic Car Rooftop Cargo Carrier Roof Bag Waterproof for All Top of Vehicle with/Without Rack Includes Topper Anti-Slip Mat + Reinforced Straps + 6 Door Hooks + Luggage Lock |
|
| 8 | MIDABAO 20 Cubic Waterproof Duty Car Roof Top Carrier-Car Cargo Roof Top Bag, Waterproof & Coated Zippers includes Anti Slip Mat with or without Racks (20 Cubic Feet) |
|
| 9 | iBirdie Roof Rack Cargo Carrier 15.3 Cubic Feet, Soft-Shell Rooftop Cargo Box, Waterproof Heavy Duty 1200D for Car with/Without Roof Rack, Includes Anti-Slip Mat, Door Hooks, 46x34x17 inches |
|
| 10 | Car Rooftop Cargo Carrier Bag, 21 Cubic Feet 100% Waterproof Heavy Duty 840D Car Roof Bag for All Vehicle with/Without Racks - Anti-Slip Mat, 6 Door Hooks, Storage Bags, 2 Extra Straps, Luggage Lock |
|
With the crossbars securely in place, carefully lift the roof box onto them. It’s often helpful to have a second person assist with this to prevent scratching your vehicle or the box. Center the roof box both front-to-back and side-to-side. Ensure there’s enough clearance at the rear for your vehicle’s tailgate or hatch to open fully without obstruction. Adjust the box’s position until it feels balanced and aligned.
- Check for tailgate clearance.
- Ensure even weight distribution.
- Verify the box is centered on crossbars.
- Confirm no interference with antennas.
- Double-check all mounting points are accessible.
Securing the Roof Box: The Mounting Hardware
Now it’s time to attach the roof box to the crossbars using its specific mounting hardware. Most modern roof boxes feature quick-attach systems like power-click clamps or T-track adapters that make this process simple. For U-bolt systems, thread the bolts around the crossbars and through the designated holes inside the roof box, securing them with nuts. For power-click or similar systems, simply position the clamps over the crossbars and rotate the internal knob until they are tight. Always tighten all mounting points evenly to prevent undue stress on the box or crossbars.
Final Checks and Safety Tips
Once the roof box is secured, give it a firm shake to ensure there’s no wobble. Double-check that all nuts, bolts, or clamps are fully tightened. Close and lock the roof box lid. Before driving, take a short test drive at low speeds to listen for any unusual noises or vibrations. Re-check the mounting hardware after your first few miles of driving, and periodically throughout your trip, especially on longer journeys. to always adhere to your vehicle’s and roof box’s maximum weight limits.
Get our weekly buyer guide
Practical specs, not advice. Unsubscribe anytime.
I was so nervous about putting on my new Thule roof box, but this guide made it super clear. The step-by-step instructions for using the power-click clamps were a lifesaver. It really only took me about 45 minutes, just like it said it would. Everything felt really secure for our road trip.
The tips for cleaning the roof before starting were helpful, but I wish there was a bit more detail on adjusting the crossbar spacing. My specific vehicle’s crossbars were a bit tricky to get just right for the roof box, and it added some extra time to the 30-60 minute estimate. Still, it got the job done eventually.
This was a solid guide for getting my Yakima box on. I appreciated the reminder to check the instruction manual for model-specific details, as my U-bolts had a slightly different tightening sequence. It definitely helped me feel more confident that I wasn’t missing any crucial steps. Good stuff.
Fantastic resource! I had no idea about T-track adapters until I read this, and it made choosing my mounting hardware so much easier. The whole process was way less intimidating than I thought it would be. My gear is now safely stored, and I’m ready for my next adventure.